Lighthouse supports OpenID Connect (OIDC) authentication to protect your instance. When enabled, users must sign in through an identity provider before accessing Lighthouse.
Authentication is a Premium feature. A valid Premium license is required to enable it.
- Overview
- Configuration Reference
- Provider Guides
- Troubleshooting
Overview
By default, Lighthouse is accessible to anyone who can reach the URL. Enabling authentication adds an authorization layer in front of the application — every request is checked for a valid session, and unauthenticated users are redirected to the sign-in screen.
Once authentication is enabled, you can also issue API keys for non-browser clients such as the Lighthouse CLI and Lighthouse MCP servers. Create those keys from System Settings > API Keys, and see AI and Automation for end-to-end usage examples.
Authorization (Role-Based Access Control)
Authentication answers “who is this user?”. Authorization is the next layer: “what is this user allowed to do?”. Lighthouse provides this through Role-Based Access Control (RBAC) — a Premium feature that lets you scope read, edit, and create rights on individual teams and portfolios.
Until RBAC is bootstrapped, every signed-in user has full access. After the first user clicks Become First System Admin under Settings → Access, only users with an explicit role assignment (or an Emergency Admin entry in appsettings.json) retain administrative rights. See Role-Based Access Control for the full bootstrap walkthrough, the role matrix, SSO group mappings, and the rules that govern team / portfolio creation.
Authentication Flow
When authentication is enabled, users interact with the following screens depending on their state:
Sign-In Screen
Users who are not yet signed in see the Lighthouse sign-in screen. Clicking Sign In redirects them to the configured identity provider.

Authenticated — App Loaded
After a successful sign-in, users with a valid Premium license are taken directly into the Lighthouse application.
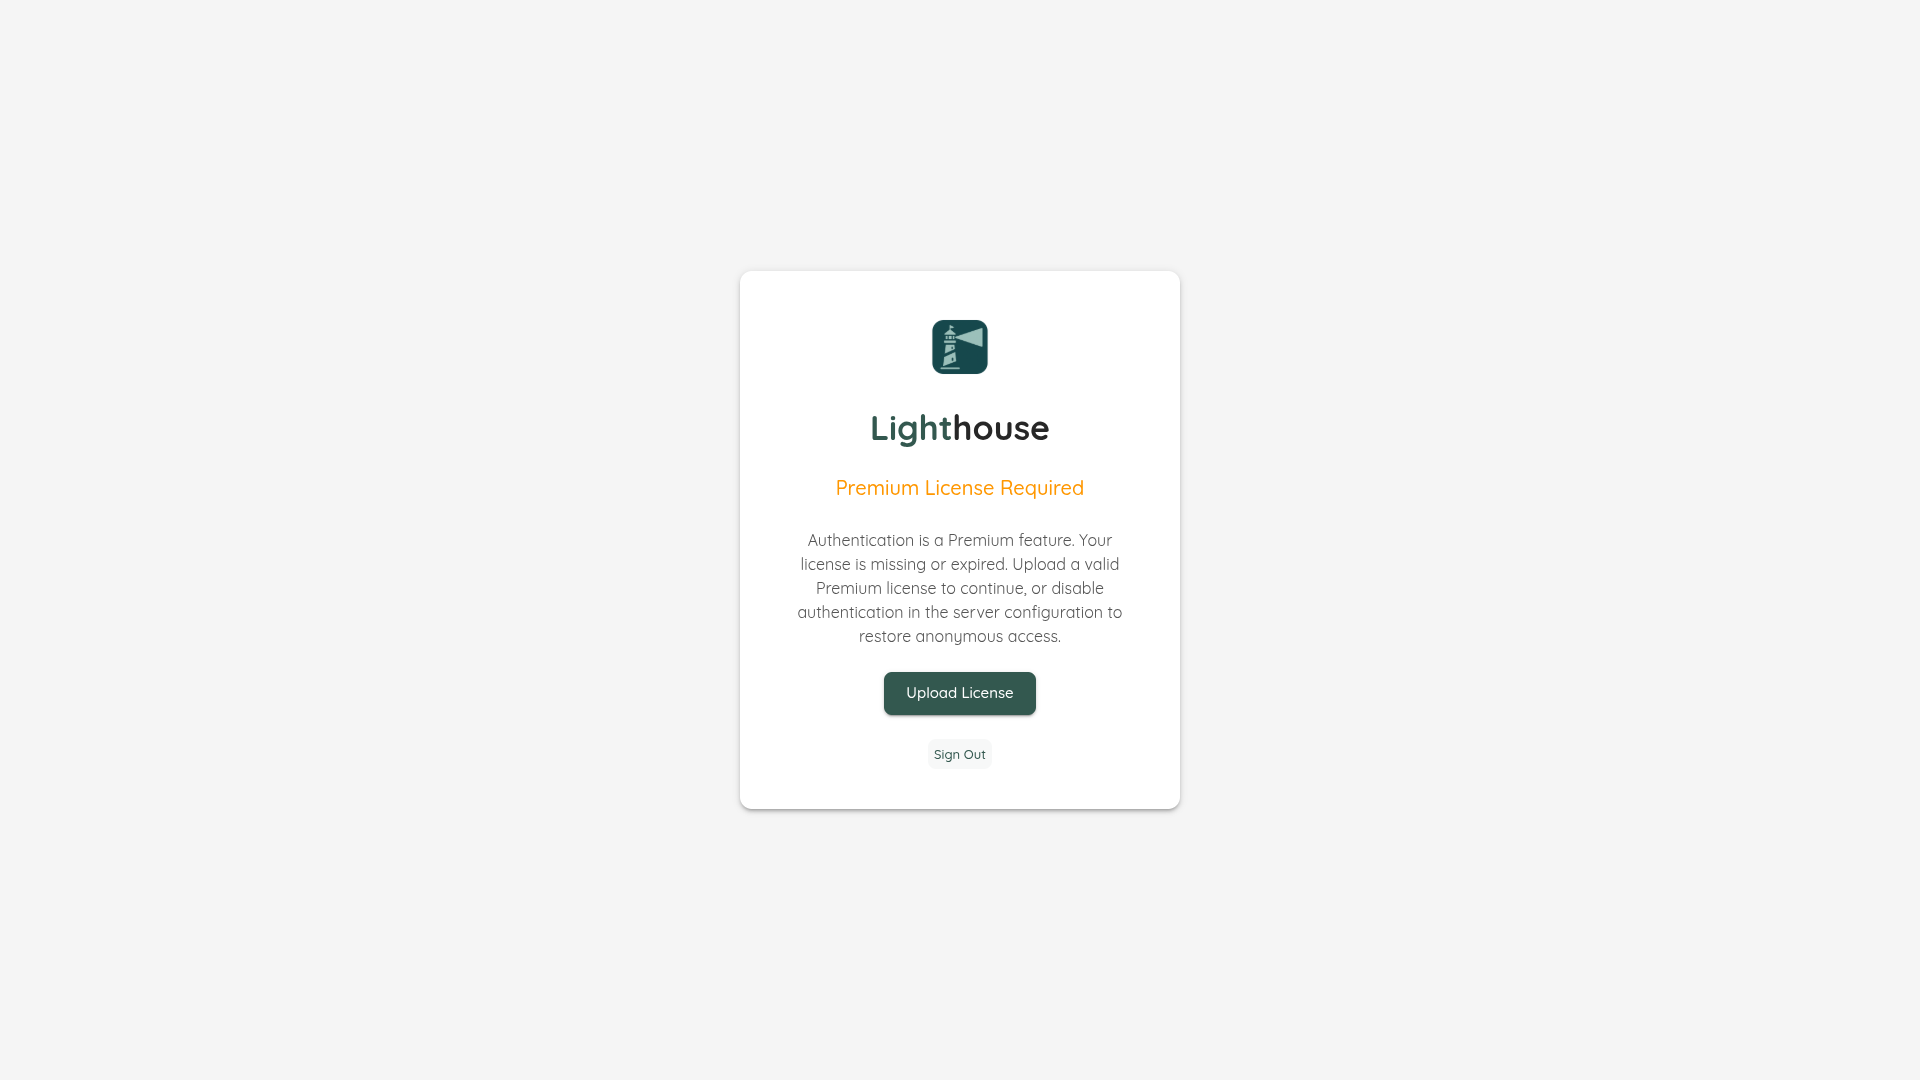
Blocked — Premium License Required
If authentication is working but no Premium license is configured, users see the Premium License Required screen. They can upload a license directly from this screen, or sign out.
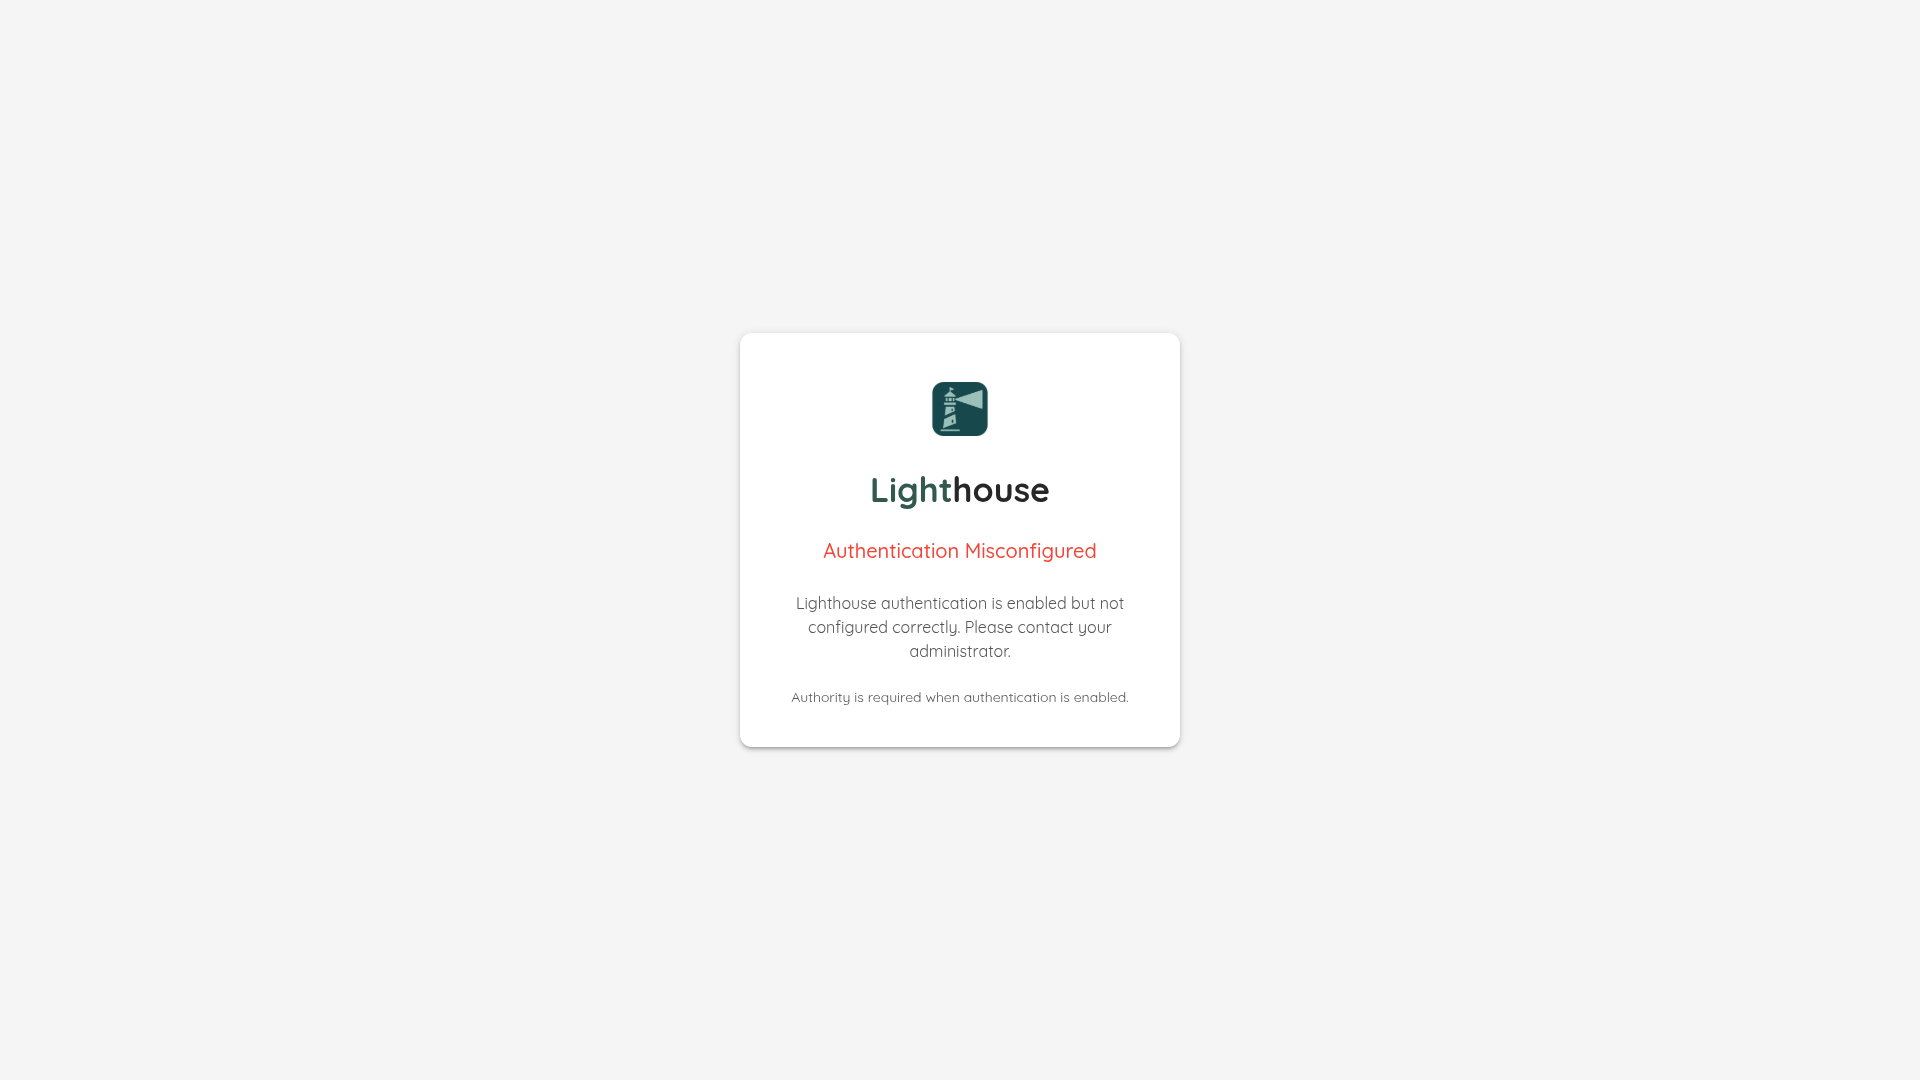
Authentication Misconfigured
If authentication is enabled but the configuration is invalid (for example, no Authority is set), Lighthouse displays an error screen explaining what is wrong. This is a deliberate fail-closed design — Lighthouse will not start with a broken authentication configuration.
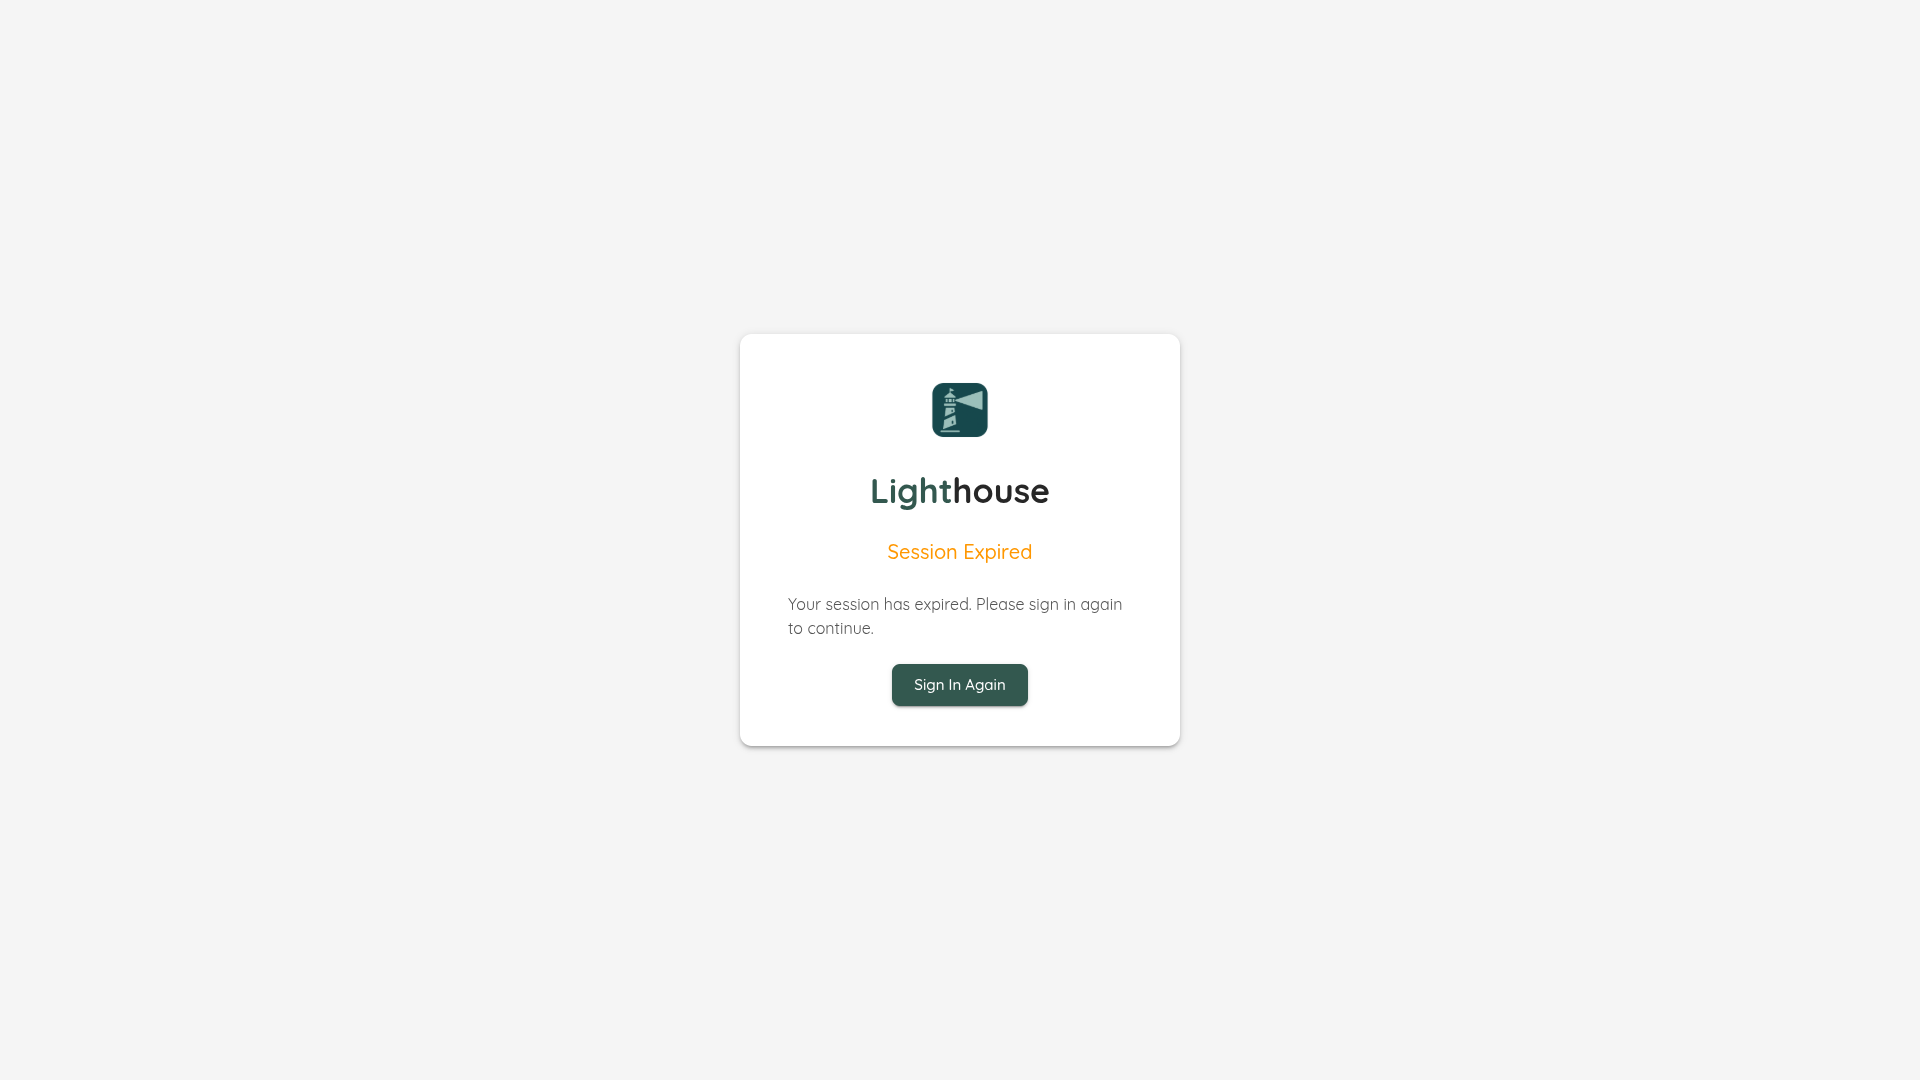
Session Expired
If a user’s session expires while they are using Lighthouse, they are shown the Session Expired screen. Clicking Sign In Again returns them to the identity provider to re-authenticate.
Configuration Reference
All authentication settings live under the Authentication key in appsettings.json.
| Property | Type | Default | Description |
|---|---|---|---|
Enabled | bool | false | Enables or disables authentication. |
Authority | string | — | The OIDC issuer URL of your identity provider. Required when Enabled is true. |
ClientId | string | — | The client ID registered with your identity provider. |
ClientSecret | string | — | The client secret for the registered application. |
CallbackPath | string | /api/auth/callback | The path the identity provider redirects back to after sign-in. |
SignedOutCallbackPath | string | /api/auth/signout-callback | The path the identity provider redirects back to after sign-out. |
Scopes | string[] | ["openid","profile","email"] | OIDC scopes to request. |
AllowedOrigins | string[] | [] | CORS origins allowed for authenticated API access. |
SessionLifetimeMinutes | int | 480 | How long a session is valid before the user must sign in again (8 hours by default). |
RequireHttpsMetadata | bool | true | Whether the OIDC metadata endpoint must be served over HTTPS. Set to false only for local development setups that do not use TLS. |
MetadataAddress | string | — | Optional override for the OIDC discovery document URL, if different from {Authority}/.well-known/openid-configuration. |
TrustedProxies | string[] | [] | IP addresses of trusted reverse proxies for forwarded-headers support. |
TrustedNetworks | string[] | [] | CIDR network ranges of trusted networks for forwarded-headers support. |
Provider Guides
Keycloak
Keycloak is an open-source identity provider you can self-host. It is a good choice for local or on-premise deployments.
1. Start Keycloak
The quickest way to run Keycloak locally is with Docker:
docker run -p 38080:8080 \
  -e KC_BOOTSTRAP_ADMIN_USERNAME=admin \
  -e KC_BOOTSTRAP_ADMIN_PASSWORD=admin \
  quay.io/keycloak/keycloak:latest start-dev
Open http://localhost:38080 and sign in as admin / admin.
The example stack in examples/keycloak/ in the Lighthouse repository provides a ready-made docker-compose.yml including a pre-configured realm export.
2. Create a Realm
- In the top-left dropdown, click Create realm.
- Enter a Realm name (e.g.
Lighthouse) and click Create.
3. Create a Client
- Go to Clients → Create client.
- Set Client type to
OpenID Connect. - Set Client ID to
lighthouse-app(or any ID you prefer). - Enable Client authentication (this makes it a confidential client).
- Under Valid redirect URIs, add the callback URL for your Lighthouse instance, e.g.
http://localhost:5169/*. - Save the client.
- Open the Credentials tab and copy the Client secret.
4. Create a User
- Go to Users → Add user.
- Fill in the username and email, then click Create.
- On the Credentials tab, set a password and disable the Temporary toggle.
5. Configure Lighthouse
{
  "Authentication": {
    "Enabled": true,
    "Authority": "http://localhost:38080/realms/Lighthouse",
    "ClientId": "lighthouse-app",
    "ClientSecret": "your-client-secret",
    "Scopes": ["openid", "profile", "email"],
    "AllowedOrigins": ["http://localhost:5169"],
    "RequireHttpsMetadata": false
  }
}
RequireHttpsMetadata must be false when Keycloak is running without TLS (for example, in start-dev mode). Do not disable this in production.
Docker environment variables equivalent:
docker run \
  -e Authentication__Enabled=true \
  -e Authentication__Authority=http://keycloak:38080/realms/Lighthouse \
  -e Authentication__ClientId=lighthouse-app \
  -e Authentication__ClientSecret=your-client-secret \
  -e Authentication__RequireHttpsMetadata=false \
  ghcr.io/letpeoplework/lighthouse:latest
Microsoft Entra ID
Microsoft Entra ID (formerly Azure Active Directory) is Microsoft’s cloud identity platform, available to all Microsoft 365 and Azure customers.
1. Register an Application
- In the Azure Portal, go to Microsoft Entra ID → App registrations → New registration.
- Give the application a name (e.g.
Lighthouse). - Under Supported account types, choose the appropriate option for your organisation.
- Under Redirect URI, select Web and enter:
https://lighthouse.example.com/api/auth/callback - Click Register and note the Application (client) ID and Directory (tenant) ID.
2. Create a Client Secret
- Go to Certificates & secrets → New client secret.
- Set a description and expiry, then click Add.
- Copy the generated secret value immediately — it will not be shown again.
3. Configure Lighthouse
{
  "Authentication": {
    "Enabled": true,
    "Authority": "https://login.microsoftonline.com/{tenant-id}/v2.0",
    "ClientId": "{application-client-id}",
    "ClientSecret": "{client-secret-value}",
    "Scopes": ["openid", "profile", "email"],
    "AllowedOrigins": ["https://lighthouse.example.com"],
    "SessionLifetimeMinutes": 480
  }
}
Replace {tenant-id} with your Directory (tenant) ID, {application-client-id} with the Application (client) ID, and {client-secret-value} with the secret you copied.
Google Identity can be used as an OIDC provider, allowing users to sign in with their Google accounts.
1. Create OAuth 2.0 Credentials
- Open the Google Cloud Console.
- Select or create a project.
- Go to APIs & Services → OAuth consent screen and configure the consent screen (App name, support email, and any required scopes).
- Go to APIs & Services → Credentials → Create credentials → OAuth client ID.
- Select Web application as the application type.
- Under Authorised redirect URIs, add:
https://lighthouse.example.com/api/auth/callback - Click Create and copy the Client ID and Client Secret.
2. Configure Lighthouse
{
  "Authentication": {
    "Enabled": true,
    "Authority": "https://accounts.google.com",
    "ClientId": "{your-client-id}.apps.googleusercontent.com",
    "ClientSecret": "{your-client-secret}",
    "Scopes": ["openid", "profile", "email"],
    "AllowedOrigins": ["https://lighthouse.example.com"]
  }
}
Google does not support RP-Initiated Logout (the user is signed out of Lighthouse, but their Google session remains active in the browser). Users who “Sign Out” of Lighthouse will need to sign out of Google separately if they want to prevent automatic re-login.
Auth0
Auth0 is a cloud-based identity platform that supports a wide range of social and enterprise identity providers.
1. Create an Application
- In the Auth0 Dashboard, go to Applications → Create Application.
- Choose Regular Web Applications and click Create.
- Under Settings, copy the Domain, Client ID, and Client Secret.
- Under Allowed Callback URLs, add:
https://lighthouse.example.com/api/auth/callback - Under Allowed Logout URLs, add:
https://lighthouse.example.com - Save changes.
2. Configure Lighthouse
{
  "Authentication": {
    "Enabled": true,
    "Authority": "https://{your-auth0-domain}",
    "ClientId": "{your-client-id}",
    "ClientSecret": "{your-client-secret}",
    "Scopes": ["openid", "profile", "email"],
    "AllowedOrigins": ["https://lighthouse.example.com"]
  }
}
Replace {your-auth0-domain} with your Auth0 tenant domain (e.g. my-tenant.eu.auth0.com).
Auth0 supports RP-Initiated Logout, so signing out of Lighthouse will also end the Auth0 session.
Troubleshooting
“Authentication Misconfigured” screen is shown
The Authority value is missing or the OIDC discovery document cannot be reached. Check that:
Authentication__Authorityis set and points to the correct issuer URL.- The identity provider is reachable from the Lighthouse server.
- If using HTTP (no TLS),
Authentication__RequireHttpsMetadatais set tofalse.
Redirect URI mismatch error from the identity provider
The callback URL registered with your identity provider does not match what Lighthouse is sending. Ensure the redirect URI in your identity provider is set to:
{LighthouseBaseUrl}/api/auth/callback
For example: https://lighthouse.example.com/api/auth/callback
Users are immediately shown “Session Expired”
The session lifetime may be too short relative to the identity provider token lifetime, or the Lighthouse server clock is out of sync. Check:
Authentication__SessionLifetimeMinutes(default: 480 minutes).- Server time synchronisation (NTP).
“Premium License Required” screen after sign-in
Authentication is working correctly, but no Premium license has been uploaded. Use the Upload License button on the blocked screen, or navigate to the Lighthouse settings to upload a license.
Sign-out does not redirect to the identity provider
Some identity providers (e.g. Google) do not support RP-Initiated Logout. After signing out of Lighthouse, users may be automatically signed back in when they next click Sign In because their identity provider session is still active. To fully sign out, users must also sign out of the identity provider directly.